Website images have three different jobs: communicate visually,
remain accessible, and load efficiently. Treating every image as an SEO
opportunity usually produces awkward file names and unhelpful
alternative text. Treating images only as decoration can exclude readers
and slow the site.
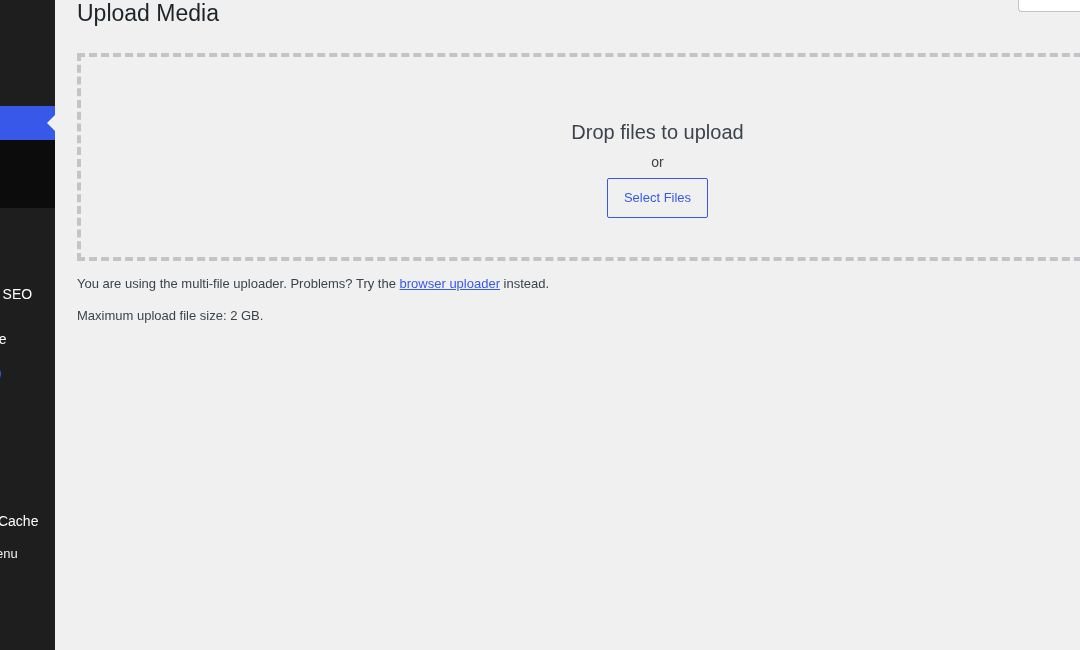
The right workflow begins before the image reaches WordPress.
Readers may phrase the problem as ‘what should I name pictures for
WordPress?’, ‘what goes in the alt-text box?’, or ‘why does the page
jump when an image loads?’ File naming, alternative text, sizing, and
reserved layout space address different parts of the workflow.
Use descriptive file names
Rename generic files such as IMG_4837.jpg or
final-final-2.png before uploading. Use a concise,
lowercase description with hyphens, for example:
wordpress-backup-files-database-checklist.webp
The name should identify the image, not repeat a target keyword five
times. Avoid dates unless the date is meaningful and avoid personal
information in file names.
Changing a file name after it has been indexed and used across the
site may create broken URLs, so establish the final name before
uploading.
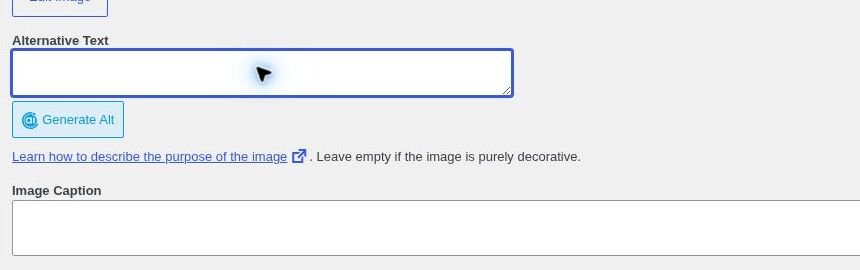
Write alt text for its
actual purpose
Alternative text describes meaningful image content for people who
cannot see it. The best alt text depends on the image’s context.
For a screenshot, explain the important interface state or action.
For a chart, communicate the relevant conclusion in nearby text and
provide a concise alt description. For a decorative flourish that adds
no information, an empty alt attribute may be appropriate so assistive
technology can skip it.
Avoid phrases such as “image of” unless the medium itself matters. Do
not stuff keywords, duplicate a nearby caption word for word, or use the
file name as automatic alt text without reviewing it.
Choose the correct
dimensions
A 4,000-pixel photograph does not need to be served at 800 pixels
wide. Resize the original to the largest display size the site genuinely
needs, while accounting for high-density screens when appropriate.
WordPress may generate multiple sizes, but uploading enormous
originals still increases storage and processing demands. Keep a
separate archival original if future print or redesign work may require
it.
Select an appropriate format
- JPEG remains suitable for many photographs.
- PNG works well for transparency and some graphics but can be
unnecessarily large for photos. - WebP often provides efficient compression with broad modern
support. - SVG is useful for certain logos and icons but should be sanitized
and handled carefully because it is code-based.
The smallest file is not automatically the best file. Examine text
sharpness, edge quality, gradients, and transparency after
conversion.
Compress with a visual
standard
Compression should reduce bytes without creating visible halos,
blockiness, banding, or unreadable screenshot text. Compare the
optimized image at its actual display size.
Screenshots containing text often need different settings than
photographs. Do not apply one aggressive compression preset to every
file.
Prevent layout shift
Pages can jump while images load when the browser does not know their
dimensions. WordPress and modern themes usually output width and height
attributes, but custom HTML or unusual optimization tools can remove or
override them.
Reserve the correct aspect ratio and avoid inserting oversized images
above the opening paragraph unless the design genuinely calls for that
experience.
Use captions when context
matters
Alt text is not a hidden caption. Use visible captions for
attribution, explanation, methodology, or information every reader
should see.
If an image contains critical instructions, reproduce those
instructions as ordinary page text. Readers should not have to extract
essential steps from pixels.
Check rights and privacy
Use original, licensed, public-domain, or otherwise authorized
material. Product and company logos may be protected even when they
appear in search results.
Before publishing screenshots, inspect browser tabs, bookmarks,
profile images, email addresses, account numbers, analytics identifiers,
and verification tokens. Cropping is often safer than blurring because
weak blur can sometimes leave information recognizable.
Final image checklist
- Descriptive final file name
- Appropriate dimensions
- Efficient format and compression
- Useful contextual alt text
- Caption or attribution when needed
- No private information
- Confirmed usage rights
- Tested on mobile and desktop
Good image preparation is invisible to most visitors. That is the
point: the image communicates, loads quickly, and creates no new
obstacle.
Separate
featured images from instructional screenshots
A featured image introduces the topic and may appear in archives or
social previews. An instructional screenshot should demonstrate one
precise action. Reusing the featured image inside the article adds
repetition without new information.
For screenshots, crop to the relevant interface while retaining
enough context to identify it. Remove personal information, account
identifiers, tokens, bookmarks, browser profiles, unrelated properties,
and private URLs before publication. Preserve an untouched private
master only when it can be stored securely.
Frequently asked questions
Does every image need alt
text?
Every image needs an appropriate alt attribute, but decorative images
may use an empty value. Meaningful images need contextual alternative
text that communicates their purpose.
Should the
focus keyword appear in every file name?
No. Use a natural description. Repeating the same keyword across
unrelated images provides little value and can make asset management
confusing.
Is WebP always the best
format?
It is often efficient, but evaluate the actual content. Logos,
screenshots, transparency, animation, and compatibility requirements may
favor another format or an SVG master with a raster publishing
derivative.
Related guides
Visual walkthrough